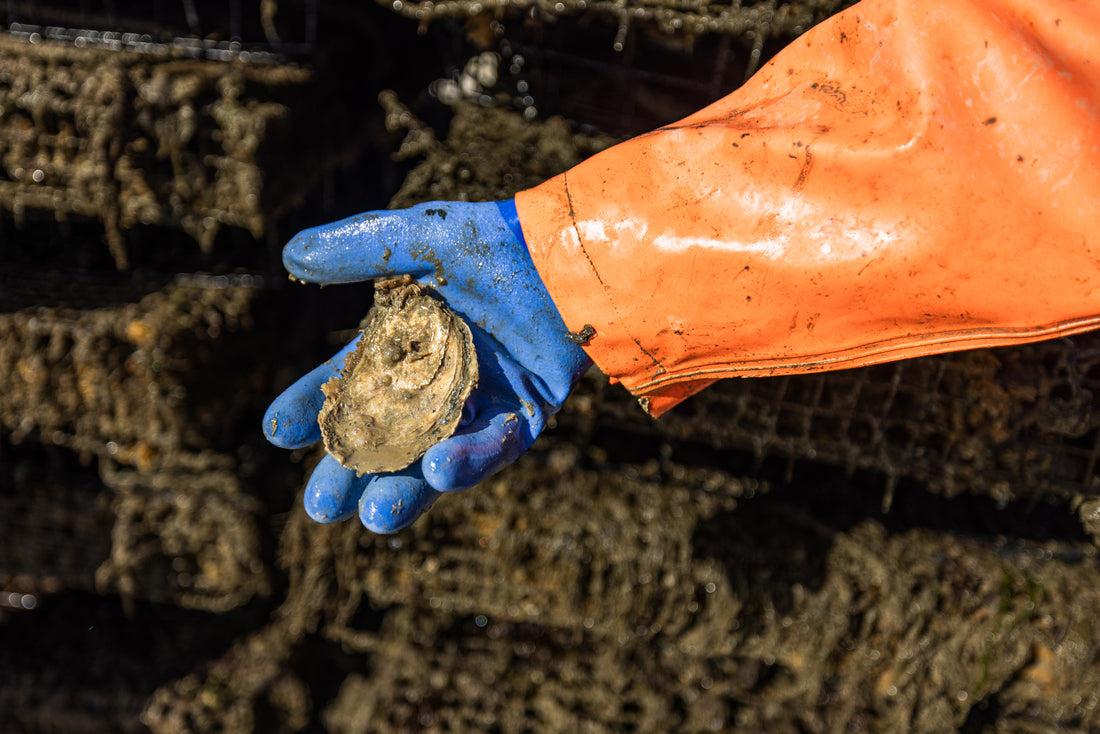
Cleaning oysters is a crucial step in preparing these delectable shellfish, ensuring not only the safety of consumption but also enhancing the dining experience by preserving the pristine taste of the sea. Whether you're a seasoned chef or a home cook looking to master the art of working with oysters, understanding the proper techniques for cleaning is essential.
**1. Purchasing Fresh Oysters:**
Begin your oyster-cleaning journey by selecting the freshest specimens available. When purchasing oysters, look for tightly closed shells, as open shells may indicate that the oyster is dead and unsafe for consumption. A live oyster should respond to a tap by closing its shell. Additionally, choose oysters that feel heavy for their size, as this is a sign of plump, succulent meat.
**2. Assemble Your Tools:**
Before diving into the cleaning process, gather the necessary tools. You'll need an oyster knife, a sturdy kitchen towel, and, for safety, a cut-resistant glove. The oyster knife is specially designed for prying open shells, while the kitchen towel and glove protect your hands from potential slips and sharp edges.
**3. Secure the Oyster:**
Hold the oyster firmly with the rounded side down and the flat side facing up. Place the oyster on a stable surface, such as a cutting board, to prevent any accidents during the shucking process.
**4. Opening the Oyster:**
Insert the tip of the oyster knife into the hinge of the oyster, which is the point where the two shells meet. Apply gentle pressure and twist the knife to pry the shells apart. Take care not to force the knife, as this may lead to shell fragments in the meat.
**5. Inspect for Debris:**
Once the oyster is open, inspect the meat for any shell fragments or debris. Remove any unwanted particles with the tip of the oyster knife or a small brush, ensuring a clean and enjoyable dining experience.
**6. Detach the Muscle:**
The oyster is attached to its shell by a muscle. To free the meat completely, slide the oyster knife under the meat along the inside of the top shell, cutting through the muscle. Be meticulous in this process to maintain the integrity of the oyster's appearance.
**7. Rinse the Oyster:**
Give the opened oyster a gentle rinse under cold, running water to remove any remaining debris. This step is crucial to guarantee the purity of the oyster's flavor.
**8. Presentation:**
Arrange the cleaned oysters on a bed of ice or a serving platter, maintaining their natural juices to enhance the overall freshness. Many oyster enthusiasts prefer serving them on a bed of rock salt, which not only stabilizes the oysters but also adds a touch of elegance to the presentation.
**9. Storage:**
If not consumed immediately, store the cleaned oysters in the refrigerator, preferably at a temperature between 32°F to 35°F (0°C to 2°C). Place a damp cloth over them to retain moisture without submerging them in water.
In mastering the art of cleaning oysters, one not only ensures a safe and delightful dining experience but also gains a deeper appreciation for the meticulous care required to bring these ocean gems to the table. With the right tools, techniques, and respect for the natural flavors of the sea, cleaning oysters becomes a culinary ritual that elevates the entire seafood experience.

